Showing posts with label recipe. Show all posts

Thursday, May 05, 2022

Recipe: One Pan Bacon Cheddar Tots

Bacon Cheddar Tots cooked on just one pan in the oven— yes, please!
My family applauded this dish! It’s so easy to make but is such a delicious treat. Make it for your Memorial Day gathering, family movie night, or take it to an outdoor party.

Serve this as an indulgent meal or a side dish at a party! It's quick and easy, and you will only have to clean one pan!

Ingredients:

  • One package of bacon (around 16 oz.)
  • One package of tater tots (around 30 oz.)
  • 1 to 2 cups of shredded cheddar cheese
  • Sour Cream, Ranch Dressing, Hot Sauce, or Buffalo Sauce for dipping
  • Green Onion or Parsley for serving
  • Salt and seasonings to taste


Directions:
  1. Put the bacon on an oven safe pan. You can use a nonstick pan or put foil on a baking sheet or in a glass baking dish.
  2. Use kitchen scissors to cut the bacon into smaller pieces to keep it from curling as it cooks.
  3. Cook the bacon in the oven at 450 degrees for about 20 minutes or until your bacon is almost as crispy as you like. It will go back into the oven to crisp up more later.
  4. When the bacon is cooked, remove it from the pan and let it drain on a paper towel.
  5. Place the tater tots on the pan. They will cook in the bacon grease, but you can drain any excess grease.
  6. Bake the tots according to their package's directions.
  7. Once the tots have baked, remove them from the oven. Top them with shredded cheddar cheese. Use anywhere from 1 to 2 cups of cheese depending on how cheesy you want the tots.
  8. Then place the cooked bacon on top of the tots. You can tear the bacon into smaller pieces to make sure there's some in each bite.
  9. Stick the bacon cheddar tots back into the oven until the cheese has melted and the bacon has crisped a bit more. You can broil them, but be sure to stand by and watch so the food doesn't burn.
  10. Remove the tots from the oven and top with chopped green onion, dried chives, or parsley. Salt and season to taste.
  11. Serve with sour cream, ranch, hot sauce, or even buffalo sauce!


Order these ingredients and more from EasyBins. Get free delivery and $15 off your order with code MARLA15 at checkout.
It’s an easy dish, but the recipe link will let you in on all the details. And it will have the ingredients ready to add to your cart!

Recipe link: Bacon Cheddar Tots

Video of me making the tots: Instagram Reel

Tuesday, May 03, 2022

Recipe: Garlic Dill Chicken Salad

It’s my goal in life to share as many chicken salad combinations as possible. šŸ˜‹


This “recipe” doesn’t have exact measurements. You’ll need to listen to your heart. Or add the ingredients, take a bite, and see if you need more of each ingredient. You’ll see what I mean…

šŸ§„Garlic Dill Chicken Salad šŸ‡ 

•Chicken
I usually boil chicken, but I also use leftover grilled, smoked, whatever chicken. You can use white or dark meat.
•Mayonnaise
Add mayo a little at a time, making sure to coat each piece of chicken. I don’t like dry salad, so I sometimes add a bit more than I think is needed. The chicken will soak up some of the mayo as it sits.
•Dried Dill
This is where you have to start listening to your heart, er, tastebuds. I LOVE dill, so I go crazy with how much I use.
•Lawry’s Garlic Salt with Parsley
The amount of this will also depend on your personal preference. I add quite a bit. I usually add the dill and garlic, stir it all about, take a taste, and decide if it needs more. If you’re watching your salt intake, you could salt to taste and then add garlic powder and dried parsley.
•Grapes
I have made this a few times without grapes when we didn’t have any in the house. It’s still good, but it is not the same. You must have grapes! The sweet balances out the savory. I used black grapes this time but have also used red and purple grapes. I quarter each grape and add enough to have a sliver of grape in each bite.

I have been making this version of chicken salad for several months now, and I think it’s my family’s favorite. I hope your family enjoys it too!

Sunday, November 21, 2021

Jalapeno Cranberry Relish

Note: I originally posted this recipe a few years ago, but the recipe was "a little of this" and "a little of that." I've finally taken the time to measure out what I do so that you can exactly replicate how I make it!

Every year I make a jalapeƱo cranberry relish for our holiday meals, but it’s really the star of the show when it comes to leftovers. It’s so easy to make, but it makes a big flavor punch. Slice a croissant and butter and toast it. Top it with turkey or ham and a dollop of jalapeƱo cranberry relish. Add cream cheese, toasted brie, or your favorite cheese slice, and you’ve just made a bistro-worthy sandwich. The relish also makes a great appetizer when served on top of room temperature cream cheese or toasted brie.


Ingredients

12 oz. of Cranberries (about 4 cups)

1 JalapeƱo, seeds removed

2 cups of Fresh Cilantro 

1/2 Cup of Sugar (*see recipe note)

3 Teaspoons of Lime Juice (could also use lemon juice or a combination of the two)

1/2 Teaspoon of Salt

  1. Wash and dry the cranberries, jalapeƱo, and cilantro.
  2. Cut open your jalapeƱo and remove the stem and seeds. If you want to have less spice, use only half of the jalapeƱo. Leave the seeds if you want a really spicy relish.
  3. Remove the cilantro leaves from the stems. Discard the stems.
  4. Put 4 cups of cranberries, one jalapeƱo, 2 cups of cilantro, 1/2 cup of sugar*, 3 teaspoons of lime juice, and 1/2 teaspoon of salt in a food processor. Pulse until you get your desired consistency.
  5. Pour the relish into a bowl, and stir to evenly combine all the ingredients.
  6. Cover and store it in the refrigerator overnight to let the flavors blend and develop.
  7. Serve as a side or use it to dress sandwiches. You can also pour it on top of a block of cream cheese or on top of warm brie to serve as an appetizer.

*Note: This is a tart relish that is meant to complement sweet ham, creamy cheeses, and savory turkey or steak. If you want a sweeter relish, use 1 cup of sugar.


Monday, July 26, 2021

Recipe: Sassy Stanton Pasta Salad

šŸ„“Sassy Stanton Pasta Salad

Remember the recepe before this (chicken salad) when we used half a packet of ranch dip? Now we’ll use the other half of the packet. This pasta salad is baby approved— she yelled for more bites!

What you’ll need:
•Gluten free penne (or any 8 to 10 oz. pasta of choice)
•5 tbsp real bacon bits (in the salad topping section of the grocery store)
•1/2 of a 1.0 oz. packet Hidden Valley Ranch DIP mix (will use 0.5 oz)
•1/4 cup mayo
•1/4 cup sour cream
•1 tbsp milk
•1/2 cup of veggie 1
•1/2 cup of veggie 2
•Veggie ideas: chopped white mushrooms, finely shredded carrots, chopped zucchini, finely chopped eggplant, diced red onion

Let’s make it:
1. Boil pasta according to the box directions to cook to al dente. Once cooked, drain and rinse the pasta with cool water to stop the cooking process.
2. Mix mayo, sour cream, and dip mix. Add milk a little at a time to get desired consistency.
3. Mix in the bacon bits and veggies, then mix in the pasta.
Put in the fridge for at least 8 hours for the flavors to develop and for the veggies to soften a bit. Make this at night to have lunches ready to go the next day!


Recipe: Sassy Stanton Chicken Salad


šŸ„“Sassy Stanton Chicken Salad

We have a chain restaurant in our town that specializes in chicken salad. I had one of their varieties and knew I had to figure out how to recreate it. Here’s my take on their “sassy” chicken salad.

What you’ll need:
•1.25 lb of chicken (weight before cooking)
•5 tbsp real bacon bits (in the salad topping section of your store)
•1/2 of a 1 oz. packet of Hidden Valley Ranch DIP mix (will use 0.5 oz)
•1/2 cup mayo
•1/2 cup sour cream
•1 cup shredded cheddar cheese
•1 to 2 tbsp milk
•Bread or crackers
I like Canyon Bakery Gluten Free Country White Bread

Let’s make it:
1. Boil and then shred cooled chicken in a food processor. You could also use rotisserie chicken, leftover grilled chicken, or canned chicken if you’re in a hurry.
2. Mix mayo, sour cream, and dip mix. Add milk a little at a time to get desired consistency.
3. Mix in the bacon bits and cheese.
4. Then mix in the chicken.
Let this sit in the fridge for at least 8 hours to give the flavor time to develop! Make this on Sunday night to have lunches ready to go for a few days. Serve with your favorite bread, croissant, or crackers!

Hope this chicken salad makes your taste buds feel sassy! šŸ˜‹

In the next recipe (spoiler: pasta salad), I’ll show you how to use the other half of the ranch dip packet!


If you're in an EasyBins delivery area, shop the recipe and get $5 off with code MARLA5 at checkout.

Recipe: JalapeƱo Fauxminto Cheese

 šŸ§€ JalapeƱo Fauxminto Cheese

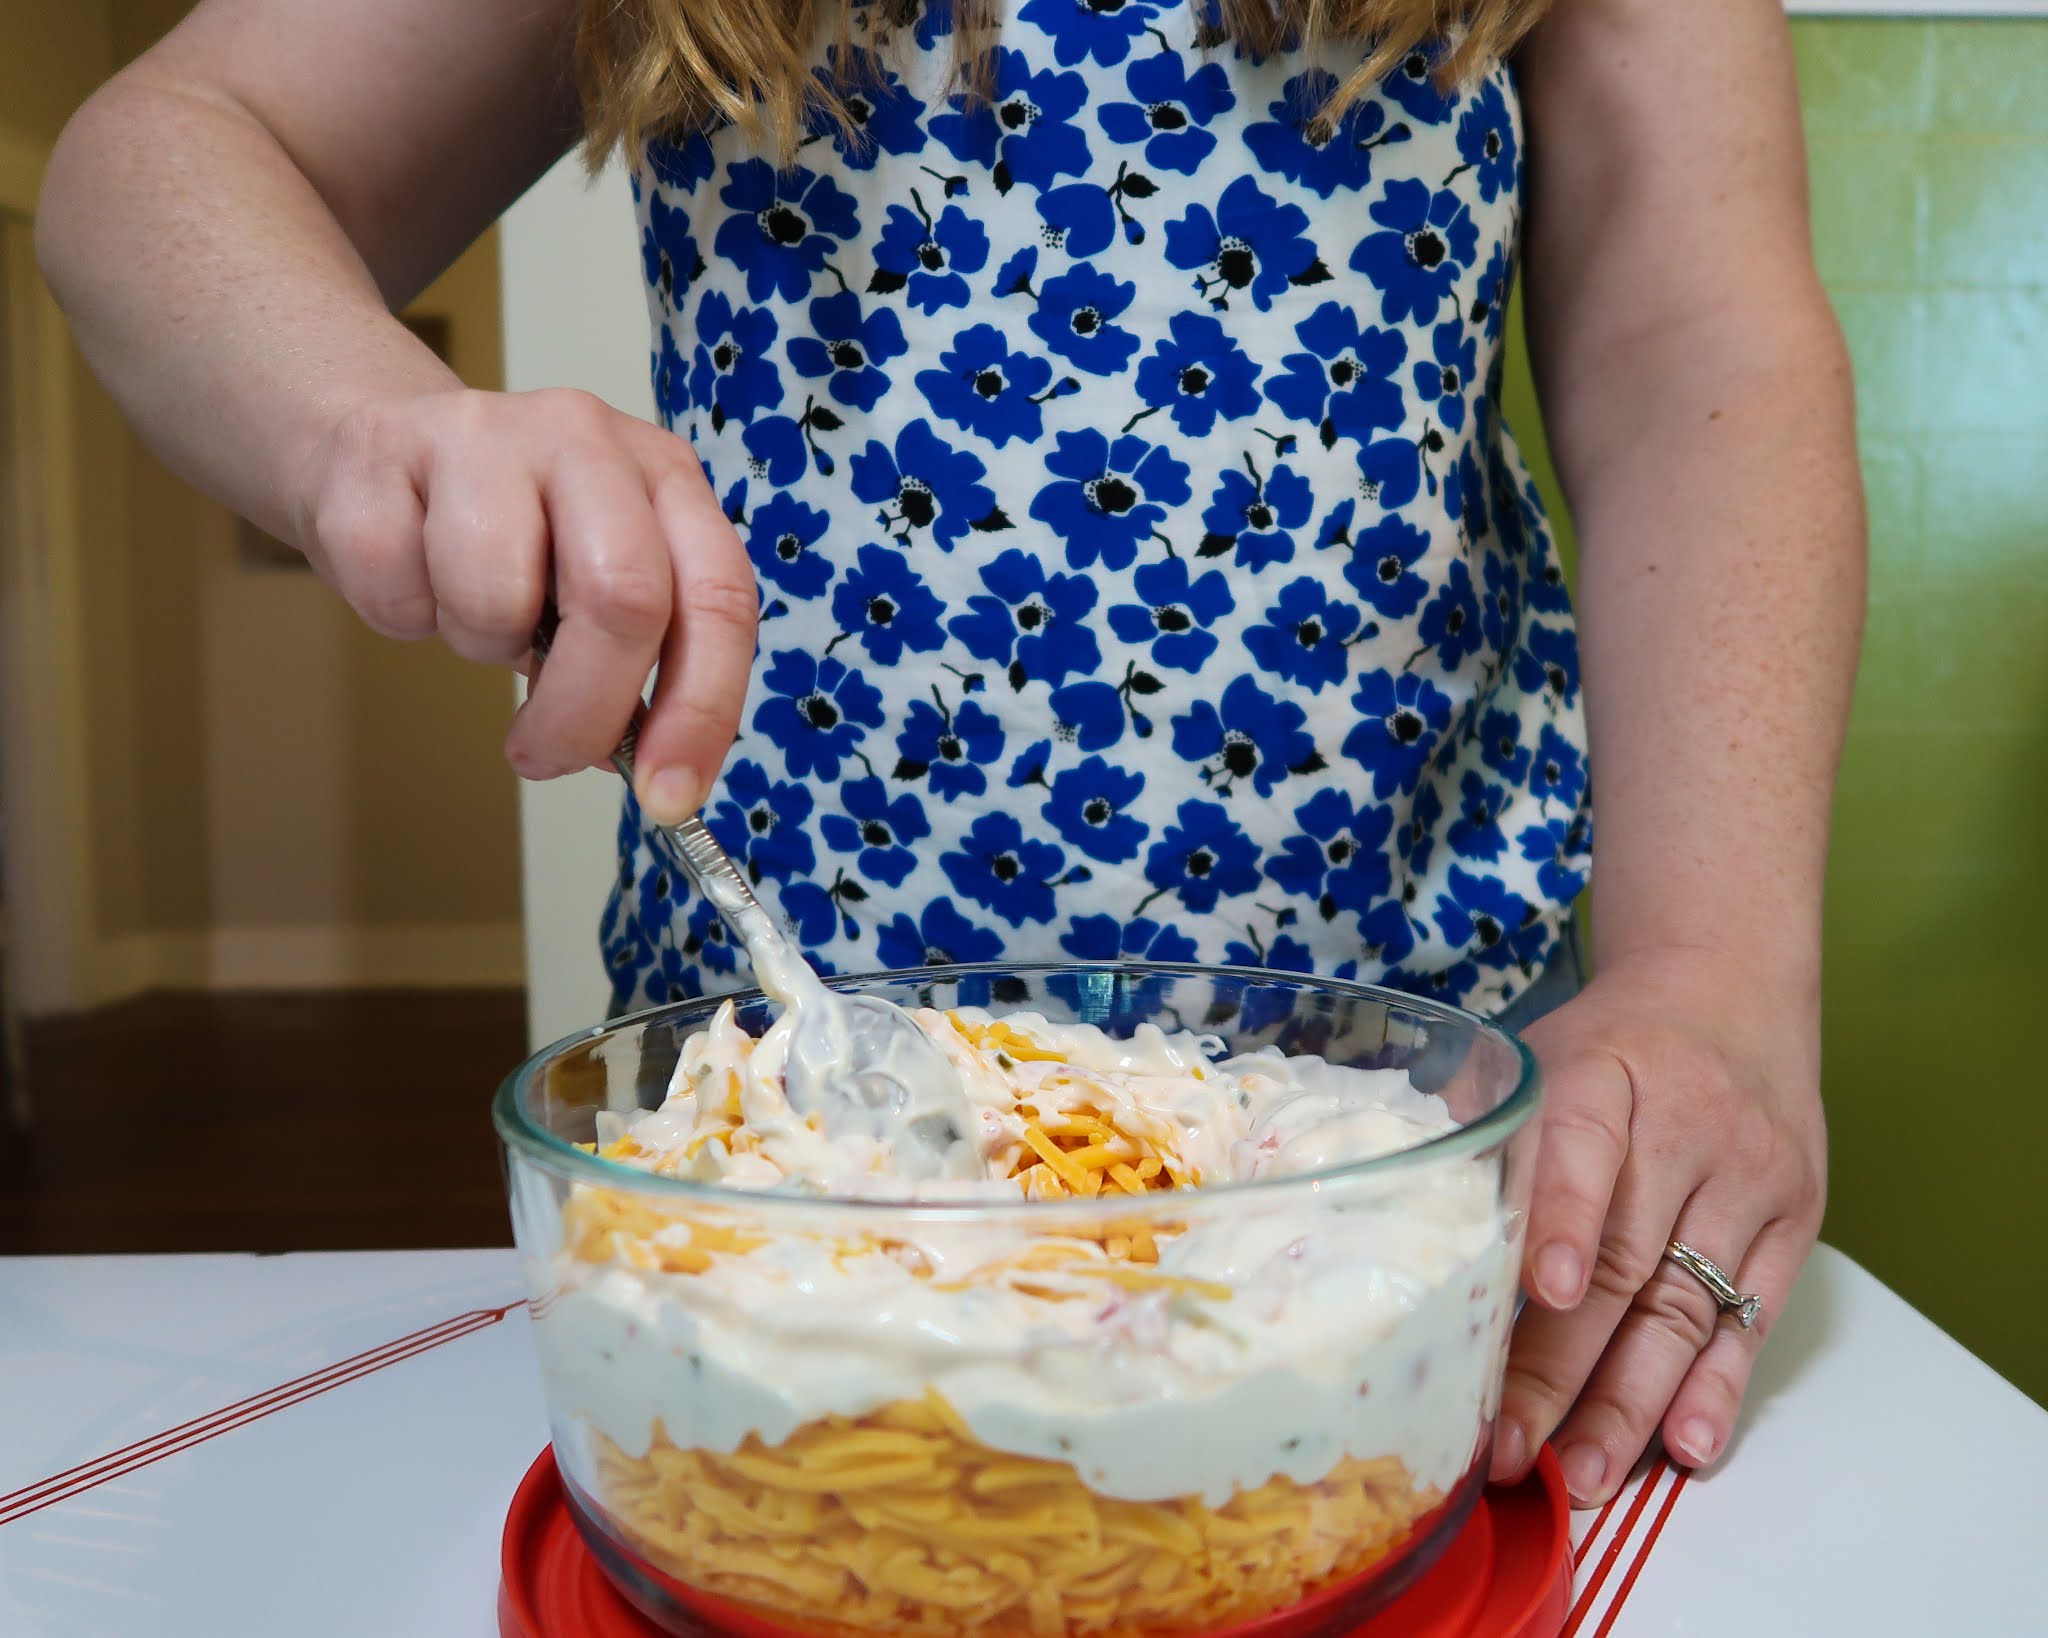
I call this fauxminto, because you won’t be buying a jar of pimentos to make this pimento cheese recipe! I’ve been making this JalapeƱo Fauxminto Cheese for a year now, and it’s a family favorite.

What you’ll need:
•4 cups of shredded sharp cheddar cheese
I think it elevates the flavor and texture when I shred a block of cheese, but most times I just buy the cheese already shredded. I’ve also done half yellow cheddar and half white cheddar to mix it up! Just be sure not to buy finely shredded.
•1/4 cup of chopped jalapeƱos
I use a fork to hold the jalapeƱos while I chop them so I don’t touch them with my hands. This keeps me from getting jalapeƱo juice on my hands and then touching my eyes or my kids’ faces. I learned that lesson the hard way. You could also wear gloves.
•1/2 cup of chopped jarred roasted red pepper
This is your pimento substitute!
•3/4 to 1 cup of mayo (depending on how “dry” or “wet” you like your pimento cheese)
•1 tsp of Tabasco
You can omit this if you don’t want the added spice, but I think it’s a needed touch!
•Bread or crackers
I like Canyon Bakery Gluten Free Country White Bread

Mix all of the ingredients together, except the cheese. Then add the mixture to the cheese, making sure to stir it well but not to mush the cheese. LET IT SIT for at least 8 hours. Trust me— it gets better with time.

You can make sandwiches or serve it as a dip with crackers. I’ve also heard that some people just eat it with a fork. I may be some people. This is great to make ahead for when you need a dish to have ready to go. I made it before leaving on a camping trip, and it made mealtime so easy. You could make it at night and have it ready for lunch, or throw it together in the morning to have dinner waiting on you.

If you're in an EasyBins delivery area, you can view the recipe and order the ingredients here. Use code MARLA5 at checkout for $5 off your order.


If you're in an EasyBins delivery area, shop the recipe and get $5 off with code MARLA5 at checkout.

Recipe: Peaches & Cream French Toast with Peach Berry Float

šŸ‘Peaches & Cream French Toast w/ Peach Berry FloatšŸ¹

Wow your guests with this easy brunch hack. They’ll think you’re a gourmet chef!

The infamous Jacques Pepin makes French toast with vanilla ice cream. Let’s take it up a notch with peach ice cream!

1. Grab your bread (I used Canyon Gluten Free Country White).
2. Soak it in melted ice cream (I used Breyer's Peach).
3. Cook it in a skillet with butter.
Ta-da!

You could have a buffet of toppings for your guests to personalize their toast. I topped mine with canned peaches, fresh strawberries and blueberries, pecans, a drizzle of syrup, and a generous dusting of powdered sugar.

Since there’s no such thing as too much ice cream and anything goes at brunch, serve scoops of ice cream to the side.

For a refreshing drink, make floats with scoops of ice cream topped with La Croix Black Razzberry sparkling water.

šŸŒžThis brunch screams summer!

Get all you need to host your brunch in your next EasyBins order with free delivery. Use code MARLA5 at checkout for $5 off!


Monday, December 19, 2011

Crock Pot Breakfast Casserole

Having night guests over for the holidays?  Then you need to make this for breakfast!
You just throw a few things in the pot, go to sleep, then wake up to eat it!
I first saw the recipe on the Jimmy Dean site.  Check out the recipe or tweak it a bit like I did.

I used about half a bag of hash browns, leftover seasoned ground beef, and four eggs, so it didn't make quite as much as the original recipe.

This is a warm, tasty, comforting breakfast that's a snap to make.  Hope you enjoy!

Thursday, November 10, 2011

Cake in a Cup

There are a few bakeries in town that offer a treat called Cake in a Cup...or something similar to the name.  When bakeries make speciality cakes, they shave off the tops of cakes to make them flat for decorating and stacking.  Instead of throwing away the shavings, they've made a treat that's possibly more delicious than the decorated cake.

Here's my version of Cake in a Cup!

I baked a box of strawberry cake.  I baked it in a bundt pan, because it doesn't stick and it was easier for me to crumble.

Crumble up half of the cake with a spoon and put it in a dish.  I used a glass bowl so it would be pretty and show through!
Crumble...
Crumble...
Crumble...
I then mixed up a cup of powdered sugar with half a stick of margarine and a dash of vanilla.
Drizzle that mixture onto the crumbled cake.
Now crumble the other half of the cake and put it in the bowl.
I microwaved half a tub of cream cheese icing to make it easy to pour.
Drizzle the icing on top of the cake.
I then added white chocolate chips.
Pretty pink!
This cake is super moist and sweet!
I couldn't have any, because it wasn't gluten free :(.
You can either serve it on plates or people can put it in cups and eat it with a spoon!

Sidenote:
Colin's birthday was Sunday, and we had quite the full day.  But I managed to bake him a yellow cake with chocolate icing (his favorite).  I usually go all out with the decorating, but because of time issues, he got white chocolate chip lettering!
Happy birthday, Colin! <3
Related Posts Plugin for WordPress, Blogger...