Friday, October 28, 2016

DIY: Felt Bows


I love the look of felt bows.  They're versatile and cheap and easy to make.  I made three different bows which happened to go with three different outfits for three big days.  You can do this with minimal craft experience and for a couple bucks.

Let's get started!

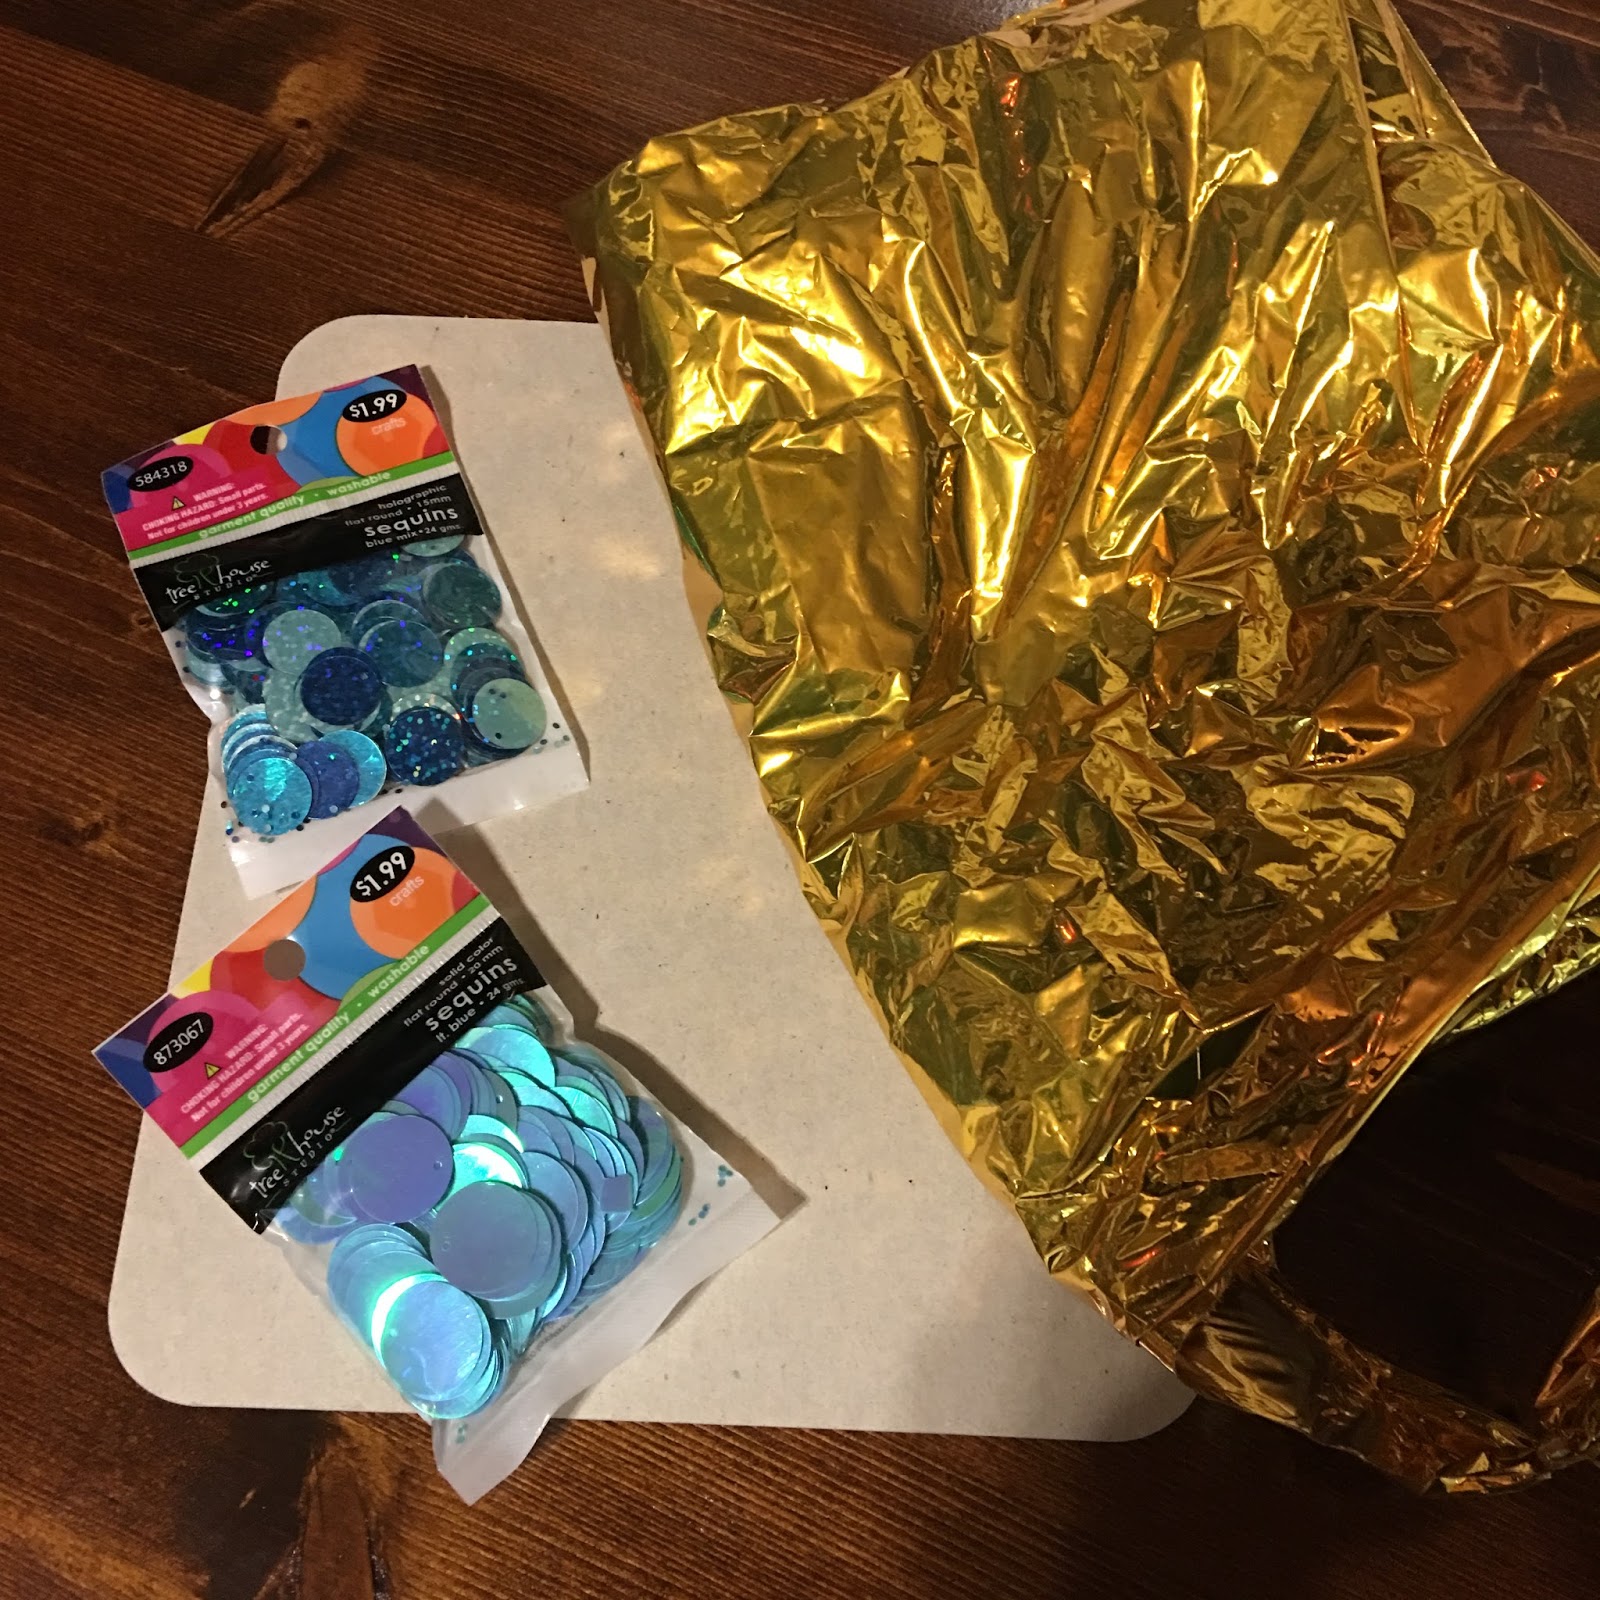
^ I wound up not using the fabric, sequins, or elastic headband.  Not pictured: hair clips from Hobby Lobby in fabric section (usually on end cap by ribbon)


I found a few tutorials on Pinterest for felt bows but in the end went with the template from oliver + s.  One difference I made to her tutorial (which many of you should rejoice over) was I used glue instead of sewing.

For some reason I cannot find a single photo I took while making these.  What a great tutorial this is going to be!

You'll be fine if you follow the oliver + s template and tutorial. When you get ready to assemble the bow, use craft or fabric glue if you don't want to sew.  When you get ready to glue or sew the last piece (the center piece that in my picture below has ribbon wrapped around it), be sure not to glue the back of the piece to the bow.  Meaning: The ends of the center strip meet at the back.  I glued the ends on top of each other but did not glue the ends to the back of the bow.  That will allow me to slip a hair clip through the back.  You can glue the hair clip in place then if you wish.  I didn't glue it, so I could remove the clip if I wanted.

For two of the bows, I wrapped ribbon/craft fibers around the center and glued them in place.  I also glued that center piece to the bow on the top (but not on the back, remember, so the hair clip can slide in).

For one bow, I did not glue the center piece on the back or the front, because I wanted to clip an antique earring on the front.

These bows are so quick to make, and felt is pretty inexpensive!  Embellish however you like!


^Harlow on the day of her birthday party wearing the bow with the antique earring

^ Harlow on her birthday at the pumpkin patch wearing the two bows with ribbons at the bottom of her pigtails.


DIY: Upcycled Mylar Balloon Banner

I know not everyone is a craft hoarder like me.  If I think something can be used for a craft, I hang on to it...like the huge number 1 mylar balloon from Harlow's first birthday.  Given that not everyone may have an old mylar balloon at their disposal, I know this craft may not be for you.  But even if you have a deflated mylar balloon from the grocery store that your kid just had to have, you could use that.

I took the mylar balloon and turned it into a banner for Harlow's second birthday.  It's simple, doesn't take much time, and requires minimal supplies.  I added an H to the banner that would require the purchase of cheap sequins if you decide to do something similar.  Harlow's birthday party was fish themed, so I was trying simulate fish scales.

Let's get started...


  • Take apart the balloon.  I cut all around the edge.
  • Begin cutting the balloon into strips.  There isn't a lot of rhyme or reason to this.  I tried to keep the strips close in size.  I was able to use most of the balloon since the number 1 was basically just a rectangle.
  • Put a few strips (around 6 or so) together and fold them in half.
  • Twist the top half a couple times to make a little hole at the top.
  • Use string (I used the string from the balloon) to tie the twist in place.
  • Scroll down for more...


Let's take a break to admire how quickly a toddler moves...

  • I cut an H from cardboard and glued string to the back, using tape to hold the string in place until the glue dried.
  • Get your sequins ready.  Glue them on the cardboard, making sure to turn them where the sequins layered on top cover the holes in the sequins.
  • Scroll down for more...

^there's that toddler hand trying to steal some sequins again...

  • I used twine to string the mylar and the letter.
  • Each time you add something to the twine, tie a knot to keep it in place and to keep it from sliding around the twine (not pictured).


Hang that baby up!

For the party I added some of Harlow's books that have fish in them, the favorite part of books for her.

I think I'll be leaving this up for a while.  I like the shiny addition to the dining room!  This is a cheap craft if you have a balloon floating around your house!


Thursday, October 27, 2016

Monogrammed/Applique Columbia PFG Shirt


Since my daughter LOVES fish, I knew she'd love a fish birthday party.  It took me awhile to decide what she should wear for her party.  I wanted it to be something she could wear beyond that day, so I knew I didn't want to put her age on the shirt or anything saying birthday on it.  I also didn't necessarily want to do something with a fish on it.

Then I had an epiphany-- monogram a fishing shirt!  You see them all over Pinterest, but it's usually for teenage girls on adult sized shirts.  Low and behold, Columbia sells their famous shirt in a kids size!  The smallest they had when I ordered it was a 2T, which was exactly what I needed.  And it was on sale!  Go to Columbia to check it out.  I ordered it through ebates and got 5% cash back (woohoo!).

The fabric used for the appliqué was a Hancock Fabrics exclusive, so sadly it's not available anymore.

The appliqué font is from Boutique Fonts.

The shirt runs big enough that I think she'll even be able to wear it next summer.

The bloomers and socks are from GAP if you're looking for something similar.


Wednesday, October 26, 2016

Painted Corrugated Tin Fish Door Hanger


You'll see corrugated tin cut-outs all over this part of the state, especially at the lake.  They're used for door hangers and garden decor and come in all kinds of shapes for all seasons and holidays.

Since we were having a fish themed birthday party for Harlow, I wanted to make a tin fish.  I searched Pinterest for ideas.  I pretty much stole the painting idea from a fish I saw on Pinterest (I tried to link it, but the link is broken).  My dad had the tin for me to use.  You can check hardware stores or even flea markets for tin.

I'll walk you through how I made the fish.  Somewhere along the way I accidentally deleted some of the photos from me making the fish template, so we'll skip ahead a bit as far as the photos are concerned.

  • I taped together some newspaper and drew out the fish shape.  The great thing about this is you can make the drawing bigger or smaller or change the shape without ruining anything or having to start over since it's just newspaper.  You can see below where I changed the shape of the bottom fin a few times.  Once you get the shape you want, cut around the fish.
  • I laid the newspaper fish on top of the tin and used a sharpie to trace the template onto the tin.
  • Colin used an oscillating multi-tool to cut the tin.
  • I cleaned the tin (you could do it before cutting it) and let it dry.
  • I painted the fish.  After the paint dried, I sprayed a shiny clear coat on top to weather-proof the paint.
  • Colin used the smallest drill bit he had to drill small holes below the top fin.  I strung galvanized wire through them, using needle nose pliers to twist the ends of the wire so it would stay put.  I hid the wire behind the fish so they fish would hang higher on the gate and not touch the ground.
  • I hung it on the gate of our picket fence to welcome our family to Harlow's birthday party!

I let it hang the week of her party so she could enjoy it, but it didn't exactly go with the scarecrows on either side, so we've now put it away until summer.  Your size and paint possibilities are endless with this fish.  This was a fun project!


Tuesday, October 25, 2016

Fish Themed Birthday Cake + Food + Invitation + Decorations

I have a two-year-old!  How is this possible?  Our Harlow loves fish, so we had a fish themed party at our house.

The invitation artwork is free from freepik.  Stanton Aquarium is our house ;).

Let's talk cake...that's what's really important.
I made a strawberry cake in a bundt pan.  I cut it in half and put icing in the middle.  The icing in the middle had strawberries blended in with it.  You can't have strawberry cake without strawberry icing!  I didn't put strawberries in the icing on the outside of the cake, because I wanted the icing to be blue.  I used the same cake and icing recipes as last year.  Click HERE for the recipes.  This year I added blue food coloring to the icing (and of course left out strawberries on the outside).


I decorated the cake with gummy worms and fish and a gator and frog and shark sprinkles.  Blue cotton candy is in the middle of the cake (the bundt hole).  I made a fish (or mermaid) tail with cardboard and sequins.  The glitter number 2 candle is from Walmart.  Those confetti balloons are also from Walmart.
On the cake table there were also strawberries and jello with Juju fish.

The food table had chili cheese dip, chips, black bean hummus, roasted red pepper hummus, whales (Walmart's take on Goldfish) in a sand bucket, strawberry shortcake Goldfish, vanilla cupcake Goldfish, and a raw sushi bar Swedish fish, Juju fish, gummy worms, and sour straws.  We served drinks in a swimming pool, because duh!

I had books with fish in them around the dining room and a banner.  And lots of pictures of Harlow (these were printed from Parabo).

Harlow (with occasional help from me and Colin) colored lots of fish coloring pages we found online, and I hung them on the curtain rod and the doorway with yarn and small craft clothespins.


It was a fun day!  If you're thinking of having a fish themed party, I hope this gave you some ideas!


Related Posts Plugin for WordPress, Blogger...