Showing posts with label craft. Show all posts

Tuesday, August 02, 2022

Summer Craft: Shrinky Dinks


There’s a never ending heat wave and drought going on here, so we’ve been looking for indoor activities. Here’s one you may want to try!
About a month ago, I pulled out the shrinky dinks sheets that I’ve had for over a decade. Then, a couple weeks ago, we went to the library for a free activity where you could make shrinky dinks. It’s easy, good for any age (Elodie “helped” me with my rainbow), and addicting!
It’s basically plastic sheets that you draw on, and then they shrink down 10 times their size in the oven. They’re so fun!
I got my sheets on sale at @hobbylobby ages ago. You can also grab kits on Amazon.
Have you ever made shrinky dinks?
I can’t find them currently on Hobby Lobby’s site, but here are some Amazon links.

Tuesday, April 13, 2021

Video: Trying Wood Burning


I picked up a new hobby— wood burning! I’ve had a wood burning kit sitting in a drawer for over a decade (yes, ridiculous, I know
🙈
), so I finally opened the box and gave it a try!

This kit is incredibly affordable if you want to give wood burning a try!

If you’re a wood burning pro, let me know in the comments what kit you have/recommend, and give me some tips! I’d also love to see some of your creations!

Monday, August 31, 2020

Star + Clouds Baby Mobile

When I was pregnant with my first daughter six year ago, I made her a mobile.  It was a cloud with stars hanging down. Now that I'm pregnant with our second daughter, I wanted to do something similar but different. So, I made a star with clouds hanging. Genius, huh? ;)

There is a tutorial for the first mobile I made here.

There will not be a tutorial for this mobile. I made it while juggling a few other projects and didn't take the time to document the steps. I also found there were a few things I would do differently if I were to do it again.  But I will let you know about the materials in case you want to attempt something similar!

The star is made from glitter canvas. I bought two 8.5x11 sheets at Hobby Lobby. There were in the section with felt sheets. I cut the sheets into stars and then sewed them together. I used glossy Mod Podge to seal the glitter so it wouldn't shed and fall into the crib.

The clouds are cut from faux leather that I've had-- the same faux leather used to make the stars on the first mobile. I painted the clouds white and sealed them with glossy Mod Podge to keep the paint from peeling.

Also like the first mobile, I used guitar strings. These particular strings were brand new, so they still have some stretching to do not to curl up.

The raindrops are cut from Hobby Lobby fabric I used to make the baby blanket. I may go back later and hand stitch around them to add interest. But we'll see about that.

Working with the glitter canvas was a bit of a challenge to hand sew the guitar strings to it. I used E6000 to reinforce where I stitched. I stuffed the star with two plastic grocery bags to give it some dimension.

It was a labor of love. And sometimes frustration. Once the guitar strings straighten out, it will look a bit more polished.

Just a few more weeks and we'll have a little one staring up at it!


Monday, August 10, 2020

Baby Blanket for Our Little One on the Way

In about 2 months, we'll be welcoming a little one into our family. I had a few things I needed to get made before she arrives, and I started with this blanket. The middle patterned fabric is some I got at Walmart awhile ago. If your Walmart looks anything like the ones here, the fabric section is almost empty thanks to the pandemic. The blue dotted, orange dotted, and solid pink fabric is from Hobby Lobby, and I got it a couple weeks ago.

We don't have the nursery set up yet (working on that this week!), so here's the blanket laid out on our guest bed.
I didn't create a tutorial for this project since I'm just focused on getting things done right now and checked off the list before I go into labor! Here's a rough sketch with rough measurements in case you want to make a similar blanket. I did a 1/2 seam allowance, and that's included in the measurements. You might want to ignore the three measurements at the very top and just focus on the measurements on the actual sketch.
After finishing the blanket, I completed a few more nursery projects. Now we just need to put together the crib and set up the nursery!

Friday, October 28, 2016

DIY: Upcycled Mylar Balloon Banner

I know not everyone is a craft hoarder like me.  If I think something can be used for a craft, I hang on to it...like the huge number 1 mylar balloon from Harlow's first birthday.  Given that not everyone may have an old mylar balloon at their disposal, I know this craft may not be for you.  But even if you have a deflated mylar balloon from the grocery store that your kid just had to have, you could use that.

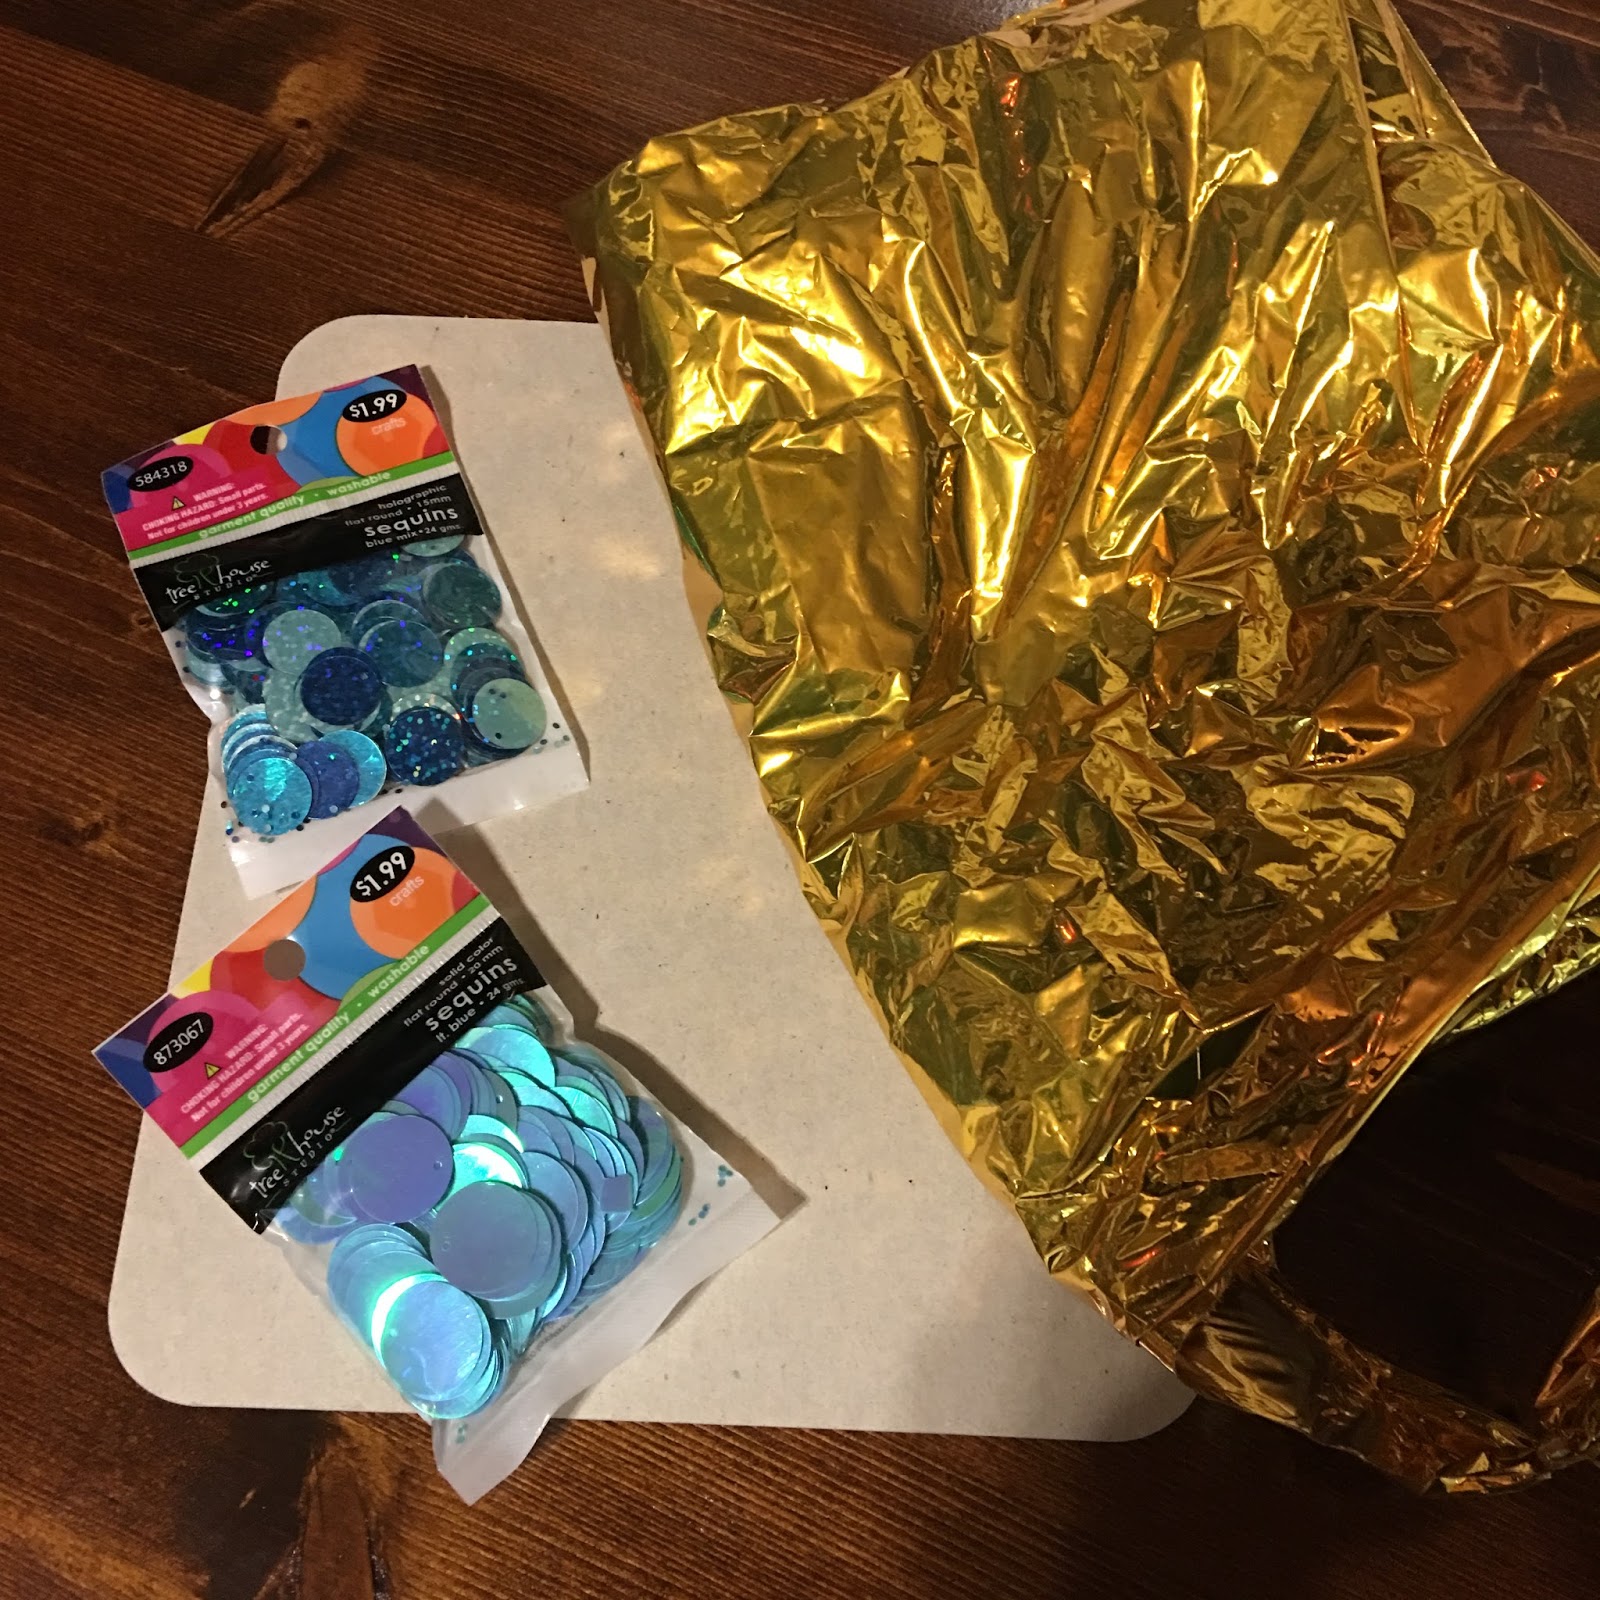
I took the mylar balloon and turned it into a banner for Harlow's second birthday.  It's simple, doesn't take much time, and requires minimal supplies.  I added an H to the banner that would require the purchase of cheap sequins if you decide to do something similar.  Harlow's birthday party was fish themed, so I was trying simulate fish scales.

Let's get started...


  • Take apart the balloon.  I cut all around the edge.
  • Begin cutting the balloon into strips.  There isn't a lot of rhyme or reason to this.  I tried to keep the strips close in size.  I was able to use most of the balloon since the number 1 was basically just a rectangle.
  • Put a few strips (around 6 or so) together and fold them in half.
  • Twist the top half a couple times to make a little hole at the top.
  • Use string (I used the string from the balloon) to tie the twist in place.
  • Scroll down for more...


Let's take a break to admire how quickly a toddler moves...

  • I cut an H from cardboard and glued string to the back, using tape to hold the string in place until the glue dried.
  • Get your sequins ready.  Glue them on the cardboard, making sure to turn them where the sequins layered on top cover the holes in the sequins.
  • Scroll down for more...

^there's that toddler hand trying to steal some sequins again...

  • I used twine to string the mylar and the letter.
  • Each time you add something to the twine, tie a knot to keep it in place and to keep it from sliding around the twine (not pictured).


Hang that baby up!

For the party I added some of Harlow's books that have fish in them, the favorite part of books for her.

I think I'll be leaving this up for a while.  I like the shiny addition to the dining room!  This is a cheap craft if you have a balloon floating around your house!


Related Posts Plugin for WordPress, Blogger...