Showing posts with label nursery. Show all posts

Monday, September 28, 2020

Nursery Tour

As we get ready to welcome our second baby into the world, we have finally finished her nursery. If you recognize the room, it's because this was the same room our first baby came home to (see that tour here). We remodeled a room in our house to move our oldest daughter into, and I'll share that soon. Today let's take a look around this re-decorated room for our new little girl.


Rattan Pendant Light (be sure to use Rakuten to get cash back on this purchase)


The cube system was bought at Walmart six years ago.
 

Thursday, September 24, 2020

Nursery Decor Using Scrapbook Paper

If this picture could talk, it would tell a tale of a command strip betrayal.😖

This picture is hanging over the baby’s crib and was simply made with some scrapbook paper. The floral paper and gold paper are from Hobby Lobby. The pink paper is Martha Stewart textured paper from Michael’s. I used my Cricut to cut out the name.

I was trying to avoid putting nails in the wall, so I originally hung it up with command strips. The frame fell and busted, so I had to order another frame. I bought the first frame on closeout at Michael’s, and it’s no longer available. The replacement frame came from Amazon and had a crack and slight bow at the top, so I can’t recommend it. I was too frustrated with the whole saga to send it back, though.😝

The good news is it didn’t fall on the baby. And yes, now there are holes in the wall.😜

Wednesday, September 23, 2020

Burlap Banner for Nursery

Initially I thought this could hang on our hospital door when our baby is born, but since it will be just me and Colin at the hospital for the delivery, the banner will probably greet our little one when she arrives home. Nothing like having a baby during a pandemic, huh?😆

I stitched up the little burlap banner on my Janome sewing machine and personalized it with the Cricut Maker.

Friday, September 18, 2020

Monogrammed Wood Round

Are you really having a baby in the south if✨something✨isn’t monogrammed? Here’s a little something I made for the nursery. 
The wood round is from Lowe’s. The glitter wreath is Cricut iron-on. The monogram is removeable vinyl from Hobby Lobby. I used my Cricut to cut the wreath and monogram. The empty white frame is from Ikea, and it will be filled with a picture of my girls once the little one arrives!
•
I’m 9 months pregnant and have just a few weeks to my due date. We’re ready for little sister to be here!

Monday, August 31, 2020

Star + Clouds Baby Mobile

When I was pregnant with my first daughter six year ago, I made her a mobile.  It was a cloud with stars hanging down. Now that I'm pregnant with our second daughter, I wanted to do something similar but different. So, I made a star with clouds hanging. Genius, huh? ;)

There is a tutorial for the first mobile I made here.

There will not be a tutorial for this mobile. I made it while juggling a few other projects and didn't take the time to document the steps. I also found there were a few things I would do differently if I were to do it again.  But I will let you know about the materials in case you want to attempt something similar!

The star is made from glitter canvas. I bought two 8.5x11 sheets at Hobby Lobby. There were in the section with felt sheets. I cut the sheets into stars and then sewed them together. I used glossy Mod Podge to seal the glitter so it wouldn't shed and fall into the crib.

The clouds are cut from faux leather that I've had-- the same faux leather used to make the stars on the first mobile. I painted the clouds white and sealed them with glossy Mod Podge to keep the paint from peeling.

Also like the first mobile, I used guitar strings. These particular strings were brand new, so they still have some stretching to do not to curl up.

The raindrops are cut from Hobby Lobby fabric I used to make the baby blanket. I may go back later and hand stitch around them to add interest. But we'll see about that.

Working with the glitter canvas was a bit of a challenge to hand sew the guitar strings to it. I used E6000 to reinforce where I stitched. I stuffed the star with two plastic grocery bags to give it some dimension.

It was a labor of love. And sometimes frustration. Once the guitar strings straighten out, it will look a bit more polished.

Just a few more weeks and we'll have a little one staring up at it!


Friday, July 12, 2019

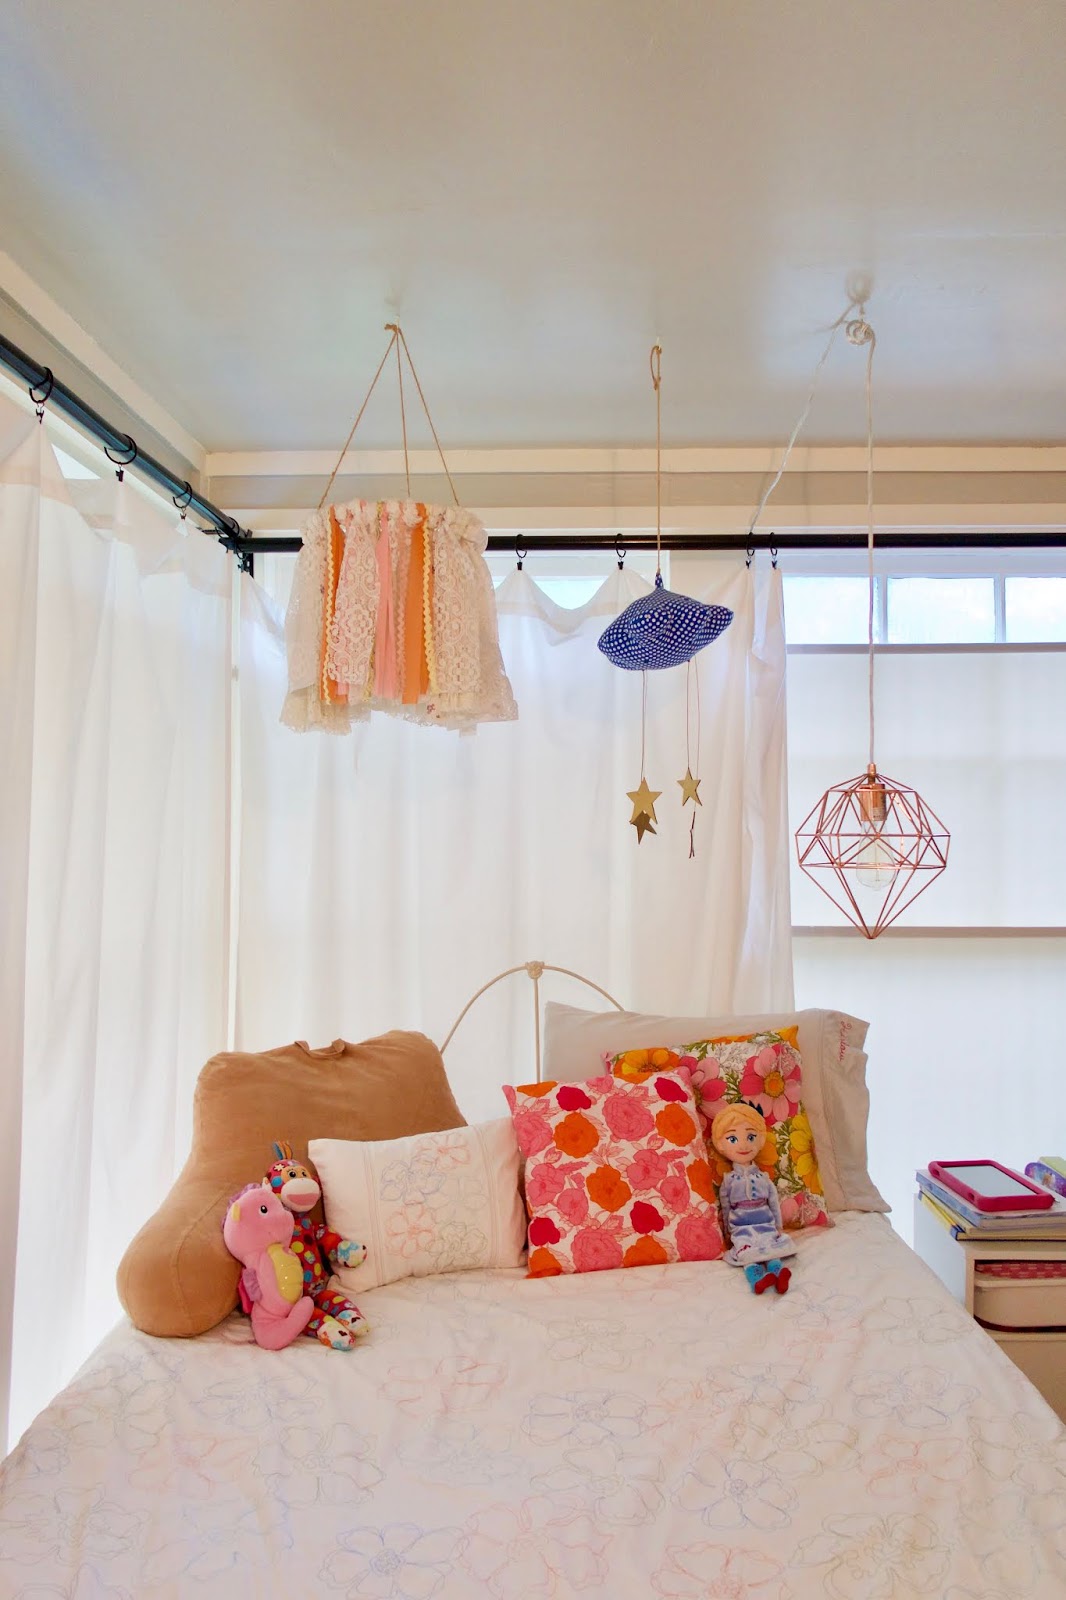
Harlow's "Big Girl" Room

Up until a couple weeks ago, Harlow was sleeping in her crib.  Don't worry-- her crib turned into a bed! She was starting to outgrow it, and the crib mattress and springs just aren't as comfy as a regular bed mattress.  I have been looking for beds for a few months, trying to figure out what to get for her. My thought was we would get her a twin bed.  Colin and I were wanting to get a new mattress for our bed, so our final decision was to move our current queen mattress to the guest room and move the full size mattress from the guest room to Harlow's room.  It takes up more room than a full mattress, but it saved us from buying a second mattress and bed frame. The iron bed frame is an antique that I had growing up.  Even though it takes up more space in her room, I think the white bed keeps the room feeling fresh and open.  The bedding is what I had right before Colin and I got married and has been our guest bedding.  It was the perfect fit for Harlow's room.  So, it turned out we didn't have to buy anything new to transform her room!

In case you were wondering, Harlow was excited to come home to a "big girl" bed!

Here are a few posts on how her room has looked in different stages over the past almost five years.  These posts will have details on some of the furniture and decor in her room.

Harlow's room is small, but we've found that you can make a small room work for whatever you need!  She loves her room and doesn't know that it's considered small for a bedroom.  I hope this gives you some inspiration for your small spaces.

Here's a photo overload of her "new" room.  You can click on the photos to enlarge them.


Friday, March 31, 2017

Toddler Bedroom + Playroom

This week we had a flashback to Harlow's nursery as it was decorated while I was still pregnant.  You can see the full nursery tour here and the round up of projects here.

Now that my daughter is two (almost two and a half...whaaaat?!), I updated her room a bit.  We took out the changing table, moved her tent, and added some more storage.  So let's chat about the room as it is now.


I moved the banner from her crib to above her bed.  I actually did this a while ago and added the paper puffs (kits I bought at JCPenney ages ago).  We converted her crib to a toddler bed.  The pillow you see is temporary while I work on a pillowcase for her.  Now that she's old enough, I added a quilt I made for her when I was pregnant.


The bow holder is now a little more crowded than it was before she was born, but it has worked perfectly for our needs.  Her stuffed animals are stuffed into this basket I got at Target.


You'll see her coats hanging on the curtain rod in the background, because it's convenient-- ha!  The purpose of a bedroom is for a toddler to live in and not just for looks, right?

The three drawer cabinet is Circo brand.  I got it at a store called Dirt Cheap for $15.  It's great for her undies, purses, and dress up clothes.  It's also a great desk for her night light and nightly reading pile.

The rose gold, diamond pendant light is from Ross.  Score!


This rolling cart is also a Circo piece that I picked up at Dirt Cheap for $15.  It's great for toys.


The tent we made her for her first birthday was in the playroom until just a couple months ago.  You can see how to make one here.


The closet space has been perfect for all our needs these past two years.  The cubes are great for storage and books, and the rod in the back is great for switching out clothes for the seasons and for putting back clothes she hasn't grown into yet.


Insert pictures of the said toddler here... :)

Now the playroom--
Harlow's tent was in here for over a year with all of her other toys like stuffed animals and kitchen items.  It was crowded, lacked floor space, and had no real organization.  She also didn't have a table to sit at to color or read or do anything.  These were all issues I wanted to fix, so we could really enjoy and use this space to its full potential.

I took a "before" picture of the playroom, but now I have no idea where it is.  So just imagine that it's crowded, toys are piled up in random baskets on the floor, and there's an outdated rug on the floor.

How it looks now: 


We moved the piano, and it made the room feel much more spacious.  I got this huge rug at Ross.  The table and chairs set and rack are from Target (order through ebates for 1% cash back).  My tip about ordering/buying from Target is wait for sales!  Target always has some kind of discount on their website or on their Cartwheel app.  I had a percentage off both of these items at the time I ordered them.


I didn't stage this room before I took photos.  This is real life and what it looks like when we put toys away.  I tried to make the space play-friendly and easy to clean up.  I got a pink basket and a drink holder in the $1 Spot at Target for colors and play dough and miscellaneous items.  The shoe rack is great for organizing, and the table has a storage basket for tea cups and whatever else Harlow decides to hide in there!  The other wall of this room is my workspace, so we spend a lot of time in this room.


These rooms may not be staged or Pinterest-perfect, but I can tell you that they're cheery, functional, and get a lot of use!  Your home should be a space to enjoy.  Adding all the storage makes it much easier to clean up and frees up floor space.  You definitely can see a toddler lives in this house, but that doesn't mean we can't have a little style.  I hope this gave you a few ideas for your kid space!


Related Posts Plugin for WordPress, Blogger...