Monday, November 07, 2016

Embroidered Burlap Pillows for Christmas & Winter

Winter is on the way, and Christmas is coming!  I embroidered burlap, and my mom made them into pillows for us to sell at a local store.  Yay for burlap year-round!

Links to the embroidery designs are below.

Nativity from Lynnie Pinnie (adapted a bit)

Tree from the files folder Lynnie Pinnie's Facebook group

Mason Jar from Daily Embroidery

I can't remember where I got this snowflake file...sorry!


Wednesday, November 02, 2016

Embroidered Antlers & Baseball Tees


How many raglan tees is too many raglan tees?  It's all I want to wear this fall!  I found these Rawlings shirts at Academy.  They come in adult and youth sizes and are $8.99 and under.  All the ones I saw in store were white, but there was a lot of sleeve color options.  I almost picked up the pink sleeves!  (Order through ebates to get 3% cash back!)

I love this antler design from Boutique Fonts.  The fonts are also from Boutique Fonts.

I first embroidered the antlers on woodgrain upholstery material for Harlow.  I haven't decided yet if it's going to be made into a banner or a pillow or what, but for now it's hanging in her room as you see in the photo.  I made it months ago and finally felt like it was the right season to hang it.  I used Sew What Pro to combine the antlers and initial, putting the initial behind the antlers.

I secretly wanted to use the antlers for myself, and I thought it would look good on a baseball tee for fall.  Using Sew What Pro, I put the M initial in front of the antler (opposite of what I did for Harlow).

The final shirt with the initials is for my mom.

Baseball tees for everyone!  :)


Tuesday, November 01, 2016

Embroidered Fish Banner

I didn't want Harlow's birthday shirt to have a number on it this year or a fish (her theme), but I wanted her to have something to mark her second birthday party.  I made a banner to hang at her party and have plans on how to use it after the party (stay tuned for a future post!).

The fish and wave designs are FREE!  I hand stitched sequins on the fish for an eye.  The font I used for the name is from Boutique Fonts, and the number 2 is from Planet Appliqué (click HERE to get 20% off at Planet Applique).  I used Sew What Pro program to combine all the files into one design.

I sewed a hem to put a dowel rod through and strung it with twine.  I got a pack of dowel rods in the craft sections of Walmart for pretty cheap.


Fish-Themed Birthday Party Wrap-Up

If you're hosting a fish-themed birthday party, I hope this gives you a few ideas!


SaveSaveSaveSave

Friday, October 28, 2016

DIY: Felt Bows


I love the look of felt bows.  They're versatile and cheap and easy to make.  I made three different bows which happened to go with three different outfits for three big days.  You can do this with minimal craft experience and for a couple bucks.

Let's get started!

^ I wound up not using the fabric, sequins, or elastic headband.  Not pictured: hair clips from Hobby Lobby in fabric section (usually on end cap by ribbon)


I found a few tutorials on Pinterest for felt bows but in the end went with the template from oliver + s.  One difference I made to her tutorial (which many of you should rejoice over) was I used glue instead of sewing.

For some reason I cannot find a single photo I took while making these.  What a great tutorial this is going to be!

You'll be fine if you follow the oliver + s template and tutorial. When you get ready to assemble the bow, use craft or fabric glue if you don't want to sew.  When you get ready to glue or sew the last piece (the center piece that in my picture below has ribbon wrapped around it), be sure not to glue the back of the piece to the bow.  Meaning: The ends of the center strip meet at the back.  I glued the ends on top of each other but did not glue the ends to the back of the bow.  That will allow me to slip a hair clip through the back.  You can glue the hair clip in place then if you wish.  I didn't glue it, so I could remove the clip if I wanted.

For two of the bows, I wrapped ribbon/craft fibers around the center and glued them in place.  I also glued that center piece to the bow on the top (but not on the back, remember, so the hair clip can slide in).

For one bow, I did not glue the center piece on the back or the front, because I wanted to clip an antique earring on the front.

These bows are so quick to make, and felt is pretty inexpensive!  Embellish however you like!


^Harlow on the day of her birthday party wearing the bow with the antique earring

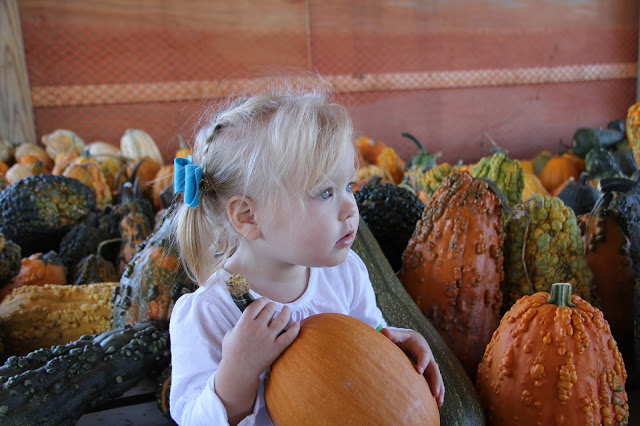
^ Harlow on her birthday at the pumpkin patch wearing the two bows with ribbons at the bottom of her pigtails.


Related Posts Plugin for WordPress, Blogger...